
Nginx Web Server Setup
This is a simple chronological LEMP web server installation you can use on a NUC/RasPi/ or full blown server.
Begin
Lets make sure our packages are up to date.
sudo apt update
sudo apt upgrade
we should remove apache to avoid port 80 conflicts and other oddities.
sudo apt remove apache2Now we can actually install and start Nginx.
sudo apt install nginx
sudo systemctl start nginx
get your ip and check out your freshly served webpage.
hostname -IPHP
We will need PHP-FPM and not standard PHP for use with NGINX. *If installing on a RasPi, make sure you are running the current Bulleye and not Buster OS
sudo apt install php7.4-fpm php7.4-mbstring php7.4-mysql php7.4-curl php7.4-gd php7.4-curl php7.4-zip php7.4-xml -y
now we can update the config
sudo nano /etc/nginx/sites-enabled/default

...Change

index index.html index.htm;

...To

index index.php index.html index.htm;

----------------------------------------------------

...also change

#location ~ \.php$ {
        #       include snippets/fastcgi-php.conf;
        #
        #       # With php5-cgi alone:
        #       fastcgi_pass 127.0.0.1:9000;
        #       # With php5-fpm:
        #       fastcgi_pass unix:/var/run/php5-fpm.sock;
        #}

...to

location ~ \.php$ {
               include snippets/fastcgi-php.conf;
               fastcgi_pass unix:/var/run/php/php7.4-fpm.sock;
        }
save and reload.
sudo systemctl reload nginxmake a file and check it out.
sudo nano /var/www/html/index.php

<?php phpinfo(); ?>
MySQL
Install the package
sudo apt install mariadb-server
sudo apt install php-mysql
sudo mysql_secure_installationAnswer Y to all the questions and remember the password you create.
Now log into mysql.
sudo mysql -u root -p*type “quit” or CRTL + D to exit the command line interface.
Now we can create a database
CREATE DATABASE testdb;and create a user. Change the “username” and “password” values to something more relevant.
CREATE USER 'username'@'localhost' IDENTIFIED BY 'password';
GRANT ALL PRIVILEGES ON testdb.* TO 'username'@'localhost';
FLUSH PRIVILEGES;
Remote Connections
https://mariadb.com/kb/en/configuring-mariadb-for-remote-client-access/
You can also create a user that will be allowed to access the database on your entire local subnet work, useful for dev situations.
GRANT ALL PRIVILEGES ON testdb.* TO 'username'@'192.168.0.0/255.255.255.0' IDENTIFIED BY 'password';

FLUSH PRIVILEGES;

... to check it ...
SELECT User, Host, Password FROM mysql.user;

... to delete a user ...
DROP USER 'username'@'localhost';

sudo service mysql restart
You can check if the port is open using the following command(OSX)
nc -zv 192.168.0.237 3306

.. or on linux ...
sudo netstat -ln
if it is closed
“nc: connectx to 192.168.0.237 port 3306 (tcp) failed: Connection refused”
Then we can open it with ipTables. This opens for all, in production lock this down.
sudo iptables -A INPUT -i eth0 -p tcp -m tcp --dport 3306 -j ACCEPT

sudo iptables -L -v -n
sudo iptables -S

... or make life easier with UFW ..

sudo apt install ufw
sudo ufw allow 22
sudo ufw allow 3306

sudo ufw show added

sudo ufw enable

sudo ufw status

//Rate limiting
//sudo ufw limit PORT
we also need to change the bind address
 sudo nano /etc/mysql/my.cnf

# bind-address = 127.0.0.1 // comment this line out

bind-address = 0.0.0.0

sudo service mysql restart

systemctl --type=service --state=running
and finally PHPMyAdmin
sudo apt install phpmyadminSelect the “apache2” and then “Yes” at the configuring PHP prompt.
Then set a PHPMyAdmin Password, make it different, keep it secure. PHPMyAdmin by default will block you from logging into the PHPMyAdmin interface using the “root” user.
Log into mysql to create the new PHPMyAdmin user.
sudo mysql -u root -p
GRANT ALL PRIVILEGES ON *.* TO 'username'@'localhost' IDENTIFIED BY 'password' WITH GRANT OPTION;
quit
Now lets configure the PHPMyAdmin install to work with Ngnix by creating a symbolic link.
sudo ln -s /usr/share/phpmyadmin /var/www/htmlNow you can check out a login into your database
http://192.your.ip.address/phpmyadmin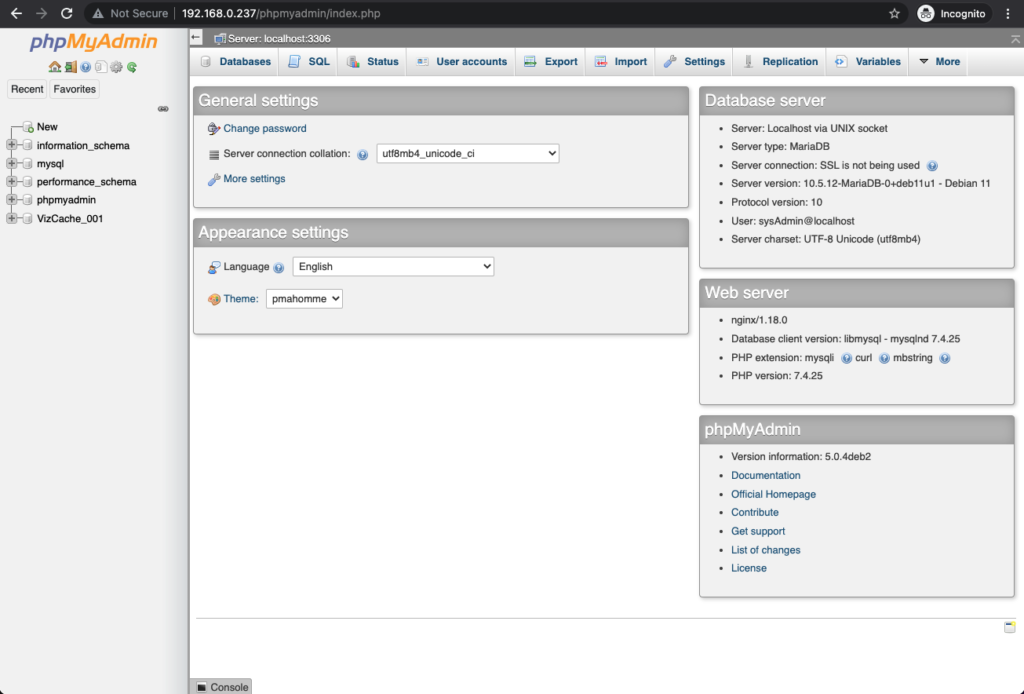
To access this from the live internet, we will need to setup port forwarding and static ip but that is for another post.
SFTP User Setup